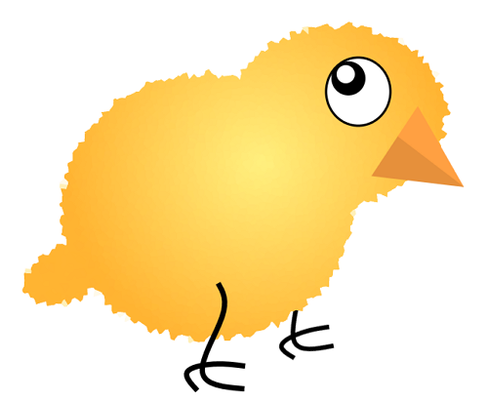
Baby Chick

Body
Insert a new layer.


Set the primary color to a yellow ...

Select the Ellipse tool

Set to Fill only.

- Draw out an oval for the body shape.
- Draw another oval for the head.

It should be in it's own layer like this. If not, undo (CTRL+Z), insert a new layer, and then draw out the body shape.


Draw another oval and rotate it to create the tail... and click off somewhere to set the shape.

Double-click on the layer name and rename to "body".

Eye
Set colors to default...

Insert a new layer and rename it eye.

Use the Ellipse tool again - this time set to draw Outline & Fill and increase the thickness about 3.

Draw an oval - black outline, filled with white...

Click off to set the eyeball shape.

Then change the Ellipse tool to Fill only...

...and draw the pupil.

Click off to set the pupil shape.

Switch the colors so white is the primary color...

Now draw a circle for the light hitting the pupil...

Click off to set the shape.

So your eye is something like this...


Beak
Insert a new layer. Rename it beak...

Set your primary color to a bright orange.

Select the Shape tool - choose Triangle, and set to draw fill only.

Draw a triangle and rotate it something like this...

Click off to set the shape.

Select the Rectangle Select tool...

Draw out a rectangle that would be bigger than the beak.

Now click on the Move Selection tool.

Rotate the selection and move it over so it's splitting the beak in half...

Go to the Adjustments menu and choose Hue/Saturation...

Slide the Lightness slider up or down a little bit to make half the beak lighter or darker.


CTRL+D to get rid of the selection outline.

So far you should have something like this...


Feet
Set the colors back to default.

Insert a new layer and rename it feet.

Click on the Line/Curve tool ...

Change the thickness to 7...

Click and draw out a straight line, then pull/push the circles...


Click off to set the curves.
Then click and drag out another line and curve it across the foot.

Duplicate the layer...


Click on the Move tool...

Drag the foot over (and up?).

CTRL+D to deselect (get rid of the dotted outline).

Move the right leg layer below the body layer. You can also rotate it and make it a bit smaller.


body Gradient
With the body layer active, click on the body area with the Wand tool.


Set your colors to 2 shades of the same color (the top one should be lighter).
Select the Gradient Tool. Set the tool type to Radial.


Then click and drag from the center of the chick to outside like this...

CTRL+D to deselect.

Body effect
Go to the Effects menu and go to Distort>Crystalize...

Play with the top slider a bit - make sure it's not too big.


Eye effects
Select the eye layer. The go to Effects > Distort > Bulge... play with center position until you have something like this...


Also add the Glow effect to the eye (under Effects > Photo > ...)

Background Gradient
Select the Background layer.

Select the Gradient tool. Set the type back to Linear.


Set colors to default. Then change the foreground color to a light color.

Click and drag top to bottom or at an angle.

To set the gradient, click on another tool/layer.


